Tuesday, 8 May 2018

Deferred Renderer and Model Loader (Coco)


Coco is a C++ OpenGL forward/deferred renderer I wrote with support for point lights and directional lights. The program also has a multi threaded asset builder where the asset file is built by jobs from a lockless multi producer multi consumer queue. The code for this project can be found at https://github.com/Ihaa21/Coco-Deferred-Renderer.

This project originally started as an attempt to write my own .obj and .mtl loader that could load sponza and store it inside my asset file format. The asset file stores a header which itself stores offsets into the file for arrays of asset meta data. The asset meta data can be a texture struct that stores a width, height, and a offset into the asset file for the texel array.


For model assets, I had a array of model meta data, where every index would store the number of vertices for that mesh and a offset in the asset file for the vertex array.


In my effort to load sponza, I began adding support for mesh groups in obj files. Obj files can store multiple individual meshes which when rendered together, form the whole object. Sponza implements this, so to add support, I reworked the layout of asset meshes in my asset file. Instead of having a model store an offset to an array of vertices, I had the model store an offset to an array of meshes, each of which would individually store offsets into separate arrays of vertices.

Afterwards, I added mtl file loading, to texture my obj files. The mtl files provide names for materials which the obj file references for each mesh. I had the program first load the mtl file, store all of the textures in the asset file, and then load the obj file. To accommodate textures, I added a separate texture array for each model, and I had meshes reference this array to assign textures to themselves. Doing so, I was able to correctly load sponza with textures, and render it in OpenGL.


Once sponza was loaded correctly, I decided to multi thread my program to make the asset loader load different assets on different cores, increasing the speed of my program. I achieved this by building a lock free multi producer multi consumer queue. The queue stores a ring buffer of jobs and indexes to the currently being read job and to the last written job. I have a separate queue for loading data into the asset file that was executed by a dedicated thread, since only 1 thread can write to the asset file at any given time.

Since object files with textures require loading of many separate files, I decided to have a job which load the requested mtl file and all of its associated textures. Each texture load was itself a separate job, so to guarantee that after the texture loads I execute a obj load job, I added a separate high priority job queue. This job queue would always be checked first for remaining jobs, and it would only execute the job if all of its dependent jobs had finished processing. Doing so, I successfully loaded sponza using multiple threads into the asset file.

After multi threading the asset build system, I implemented a deferred rendering pipeline in OpenGL. All the geometry of my scene is loaded into a GBuffer containing world pos, normals, diffuse texels, and specular lighting data. Afterwards, the deferred shader renders every point light using a stencil pass and a lighting pass. The stencil pass modifies the stencil buffer by 1 for every front face of the point light sphere which isn't occluded, and by -1 for every back face of the point light that isn't occluded. Afterwards, during the lighting pass, the point light is culled if the stencil buffer's value isn't positive, helping us remove unnecessary lighting calculations from slowing down our application. Doing so let me render scenes with hundreds of lights as can be seen below:


Software Ray Tracer (Pixel Scratcher)


PixelScratcher is a real time software ray tracer written in C++ for Windows. Currently it implements ray tracing spheres, boxes and planes, with support for diffuse, specular, reflections, and refractions. The code can be found at https://github.com/Ihaa21/SoftwareRayTracer. Below I will detail the process of creating the raytracer.

I began the project during university after I saw lots of incredible research results on building real time raytracers, and I found tutorials at scratchapixel.com detailing how to implement the phong rendering equation. I tried my best to only use those tutorials as references and to code as much as I could on my own.

I used my code from Handmade Hero (a tutorial on making games from scratch), and I took out all the program specific code in it. I wanted to use the handmade hero code because it supported runtime compilation of code by swapping DLL's. Doing so, helped me test my project quicker since I could change my algorithms in code and recompile right away to see the changes in my app without having to close everything downand reopen.

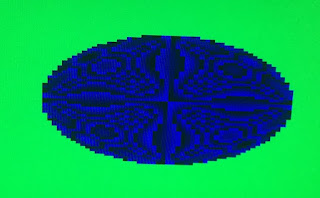
After I had the app code setup, I initialize a buffer that stores the ray directions in camera space and I rendered it to the screen to see if the patterns looked correct.


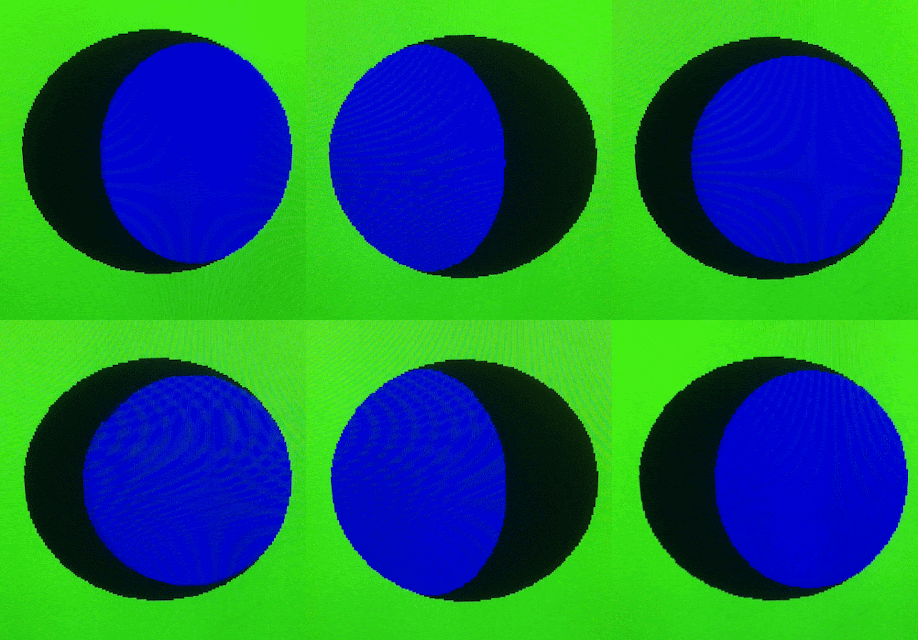
Once I got the normals setup correctly, I derived a sphere/ray intersection formula and implemented it to render the spheres in my scene. Using that, I was able to draw my first sphere. I then began by visualizing the normals for the sphere, and checked to see if they where visually consistent.


Afterwards, I added my first lights into the scene. Since I didn't have a lighting model nor did the geometry have any color, I made every ray intersection shoot a shadow ray that would try to hit the light in my scene. If the shadow ray hit a light, it set the surface's value it came from, to the lights color. I then moved the light around to see if the bouncing code was working correctly. This can be seen below:


I turned to scratchapixel's tutorial on the diffuse + specular lighting model and implemented it for my spheres. Since I was already shooting shadow rays in the above example, adding a floor to the spheres generated shadows for me with the same implementation.


To capture indirect lighting, I added the ability for lights to bounce multiple times across the scene. I also added support for reflective materials for my geometry which better tested how well the indirect lighting was working.


Finally I finished the phong model by implementing refraction using a index that controls how bent the light ray becomes once it hits a surface. Calculating refraction was tricky because I had to be able to check if a ray is inside a sphere and when it hits the outside. I followed scratchapixels tutorial on the lighting model and fresnel equations to implement the desired refraction effect which can be seen below:


This program was my first attempt at building a ray tracer of any kind, and I learnt a lot about how the lighting model works as well as various issues that arise when attempting to implement indirect lighting. The code for this project can be found at https://github.com/Ihaa21/SoftwareRayTracer so feel free to check it out!

Neural Network (Cognition)

Cognition is a neural network I built in C++ for windows without any external libraries. The program supports arbitrarily long networks of feed forward layers, with backpropogation + momentum as the learning algorithm. In the code, you can find a 3 layer classifier network that classifies MNIST digits with over 90% training accuracy, and a 3 layer auto encoder that encodes digits into a 32 vector with 90% training decoding accuracy. The code can be found at https://github.com/Ihaa21/Cognition-NeuralNetwork-.

I began this project after taking a course on neural networks and exposing myself to the state of the art research in the field. Cognition was my attempt at building a neural network from scratch which I built to fully grasp the concepts in neural networks.

The neural networks start with their connections initialized to random values, and using back propagation (the learning rule), the connections of the neurons are adjusted to minimize the error for the particular task they are executing.


We can see this in the auto encoder image on the left where close to initialization time, the network reconstructs very blurry images of the digits. The image on the right is after the network had already trained on the data set and it gets much more accurate at reconstructing the input digits.